
TRANSFORM YOUR BUSINESS
DIY CONTENT BEGINNER’S GUIDE
In this first installment of our DIY Content Course, learn from experienced photographer and filmmaker, Nathaniel Taber of Deluge Media, how to take better photos for your business with nothing but your iPhone.
Want us to create your content for you instead?
DIY Content Beginner’s Guide
Introduction
You might think you need expensive equipment to take professional-quality photos, but I'm here to show you that your iPhone is more than enough. By following these steps, you will see your photo quality transform from ordinary to outstanding.
Better photos not only means better content for your business but will also lead to a more engaged audience, help you stand out from your competition, and ultimately drive more sales.
My name is Nathaniel Taber and I’m an experienced photographer and filmmaker. My production company, Deluge Media, specializes in creating compelling social media and marketing content for brands. So although we use high-end gear that costs thousands of dollars, including cutting-edge cameras, high-end lenses, and professional lighting equipment, the photography basics I’ll teach you here can be applied to any camera you use—including your iPhone.
the problem you’re facing
The first thing to cover is the problem you’re facing. You own a business and I’m sure you take great pride in what you do. I’m a business owner too. I understand the struggles; the long hours, the hard work, the care it takes to create something awesome that people actually want to buy. In the past, businesses that wanted to succeed put ads out in the paper, ran commercials on local TV stations, went to networking events, and dressed up their storefront. They did all this so they could be noticed; so people knew what they had to offer, and frankly, knew that they even existed at all.
Today, the problem hasn’t changed, but the solution has. Love it or hate it, every day Americans now spend an average of 8 hours on their phones. I know, that’s crazy, but it’s a fact. So if you want people to discover you, connect with you, and fall in love with your brand, that’s where you need to be; on their phone.
STEP ONE: DIVERSIFY YOUR CONTENT
Put simply, find a bunch of stuff to take photos of. I know this may seem obvious, but this is the most important step. You would not believe how many businesses take essentially the same photo over and over again and expect to engage with their audience. For example, go onto Instagram and look up a few restaurants and you’ll find one that is posting sandwich after sandwich after sandwich and occasionally a side of fries. Or worse, many businesses aren’t posting anything at all.
So to continue with the restaurant example, sure there’s the food, but there’s also the beverages, decor, furniture, employees, happy customers, the list goes on and on.
So think of everything you do, all the things you offer, every cool aspect of your business, the atmosphere, the people, and write it all down. You want to aim for a list at least 20 items long. Now you have your shot list. And the beauty of photography is you’ll never run out of ways to photograph these things. You can take a photo of the same thing in a different setting or from a different angle and boom you have a new photo, and thus, a new piece of content to post.
If you take nothing away from this blog remember this, bad content is better than no content. Although banger photos are great and can help elevate your brand even more, as long as you’re regularly posting a variety of different photos, you will already be ahead of 90% of businesses.


STEP TWO: OPTIMIZE YOUR LIGHTING
Lighting is everything in photography. If the lighting sucks, the photo will suck. The best way to get good lighting is by using a professional lighting setup like we use here, but there’s a way to get good lighting for free and you probably already have a few of these. Windows! Just put your subject in front of a big window and aim your camera toward the darker side of your subject. If you don’t have big windows, that’s okay, just find a spot in your space that isn’t directly under a big light and that should be good enough.
STEP THREE: IMPROVE YOUR COMPOSITION
First, if you’re on an iPhone, go to your settings, scroll down to camera, select formats and make sure High Efficiency is selected, photo mode is set to 24 Megapixels or higher, and ProRAW is turned on. Without getting too technical, these settings will make sure that you’re getting the highest quality photo possible. Next back out of this menu and turn on Grid and Level. These tools help you use the 'rule of thirds,' a classic photography principle that enhances visual interest and balance in your photos. Many poorly shot photos can be improved significantly simply by placing your subject on one of these grid lines and keeping your phone level. If you’re shooting something smaller on a tabletop, it can also help to turn your phone upside down to get your lens closer to the center of the subject. Avoid the rookie mistake of shooting at a downward angle. This position is how people naturally hold their phones but to take a photo from this angle is almost never flattering. There are many different options when it comes to composition for a photo but a safe bet is always to center your subject and shoot either straight on or straight down.
Bonus tip: use portrait mode. This mode blurs out the background and simulates the low depth of field you would get when shooting on a DSLR or mirrorless camera.


STEP FOUR: EDIT THOUGHTFULLY
A few quick tweaks to the exposure and colors in your image can make a big difference. I recommend downloading Lightroom from the app store. It’s a professional but easy to use editing program. It’s straightforward enough for beginners, but as your photo editing skills improve, it has every tool you need.
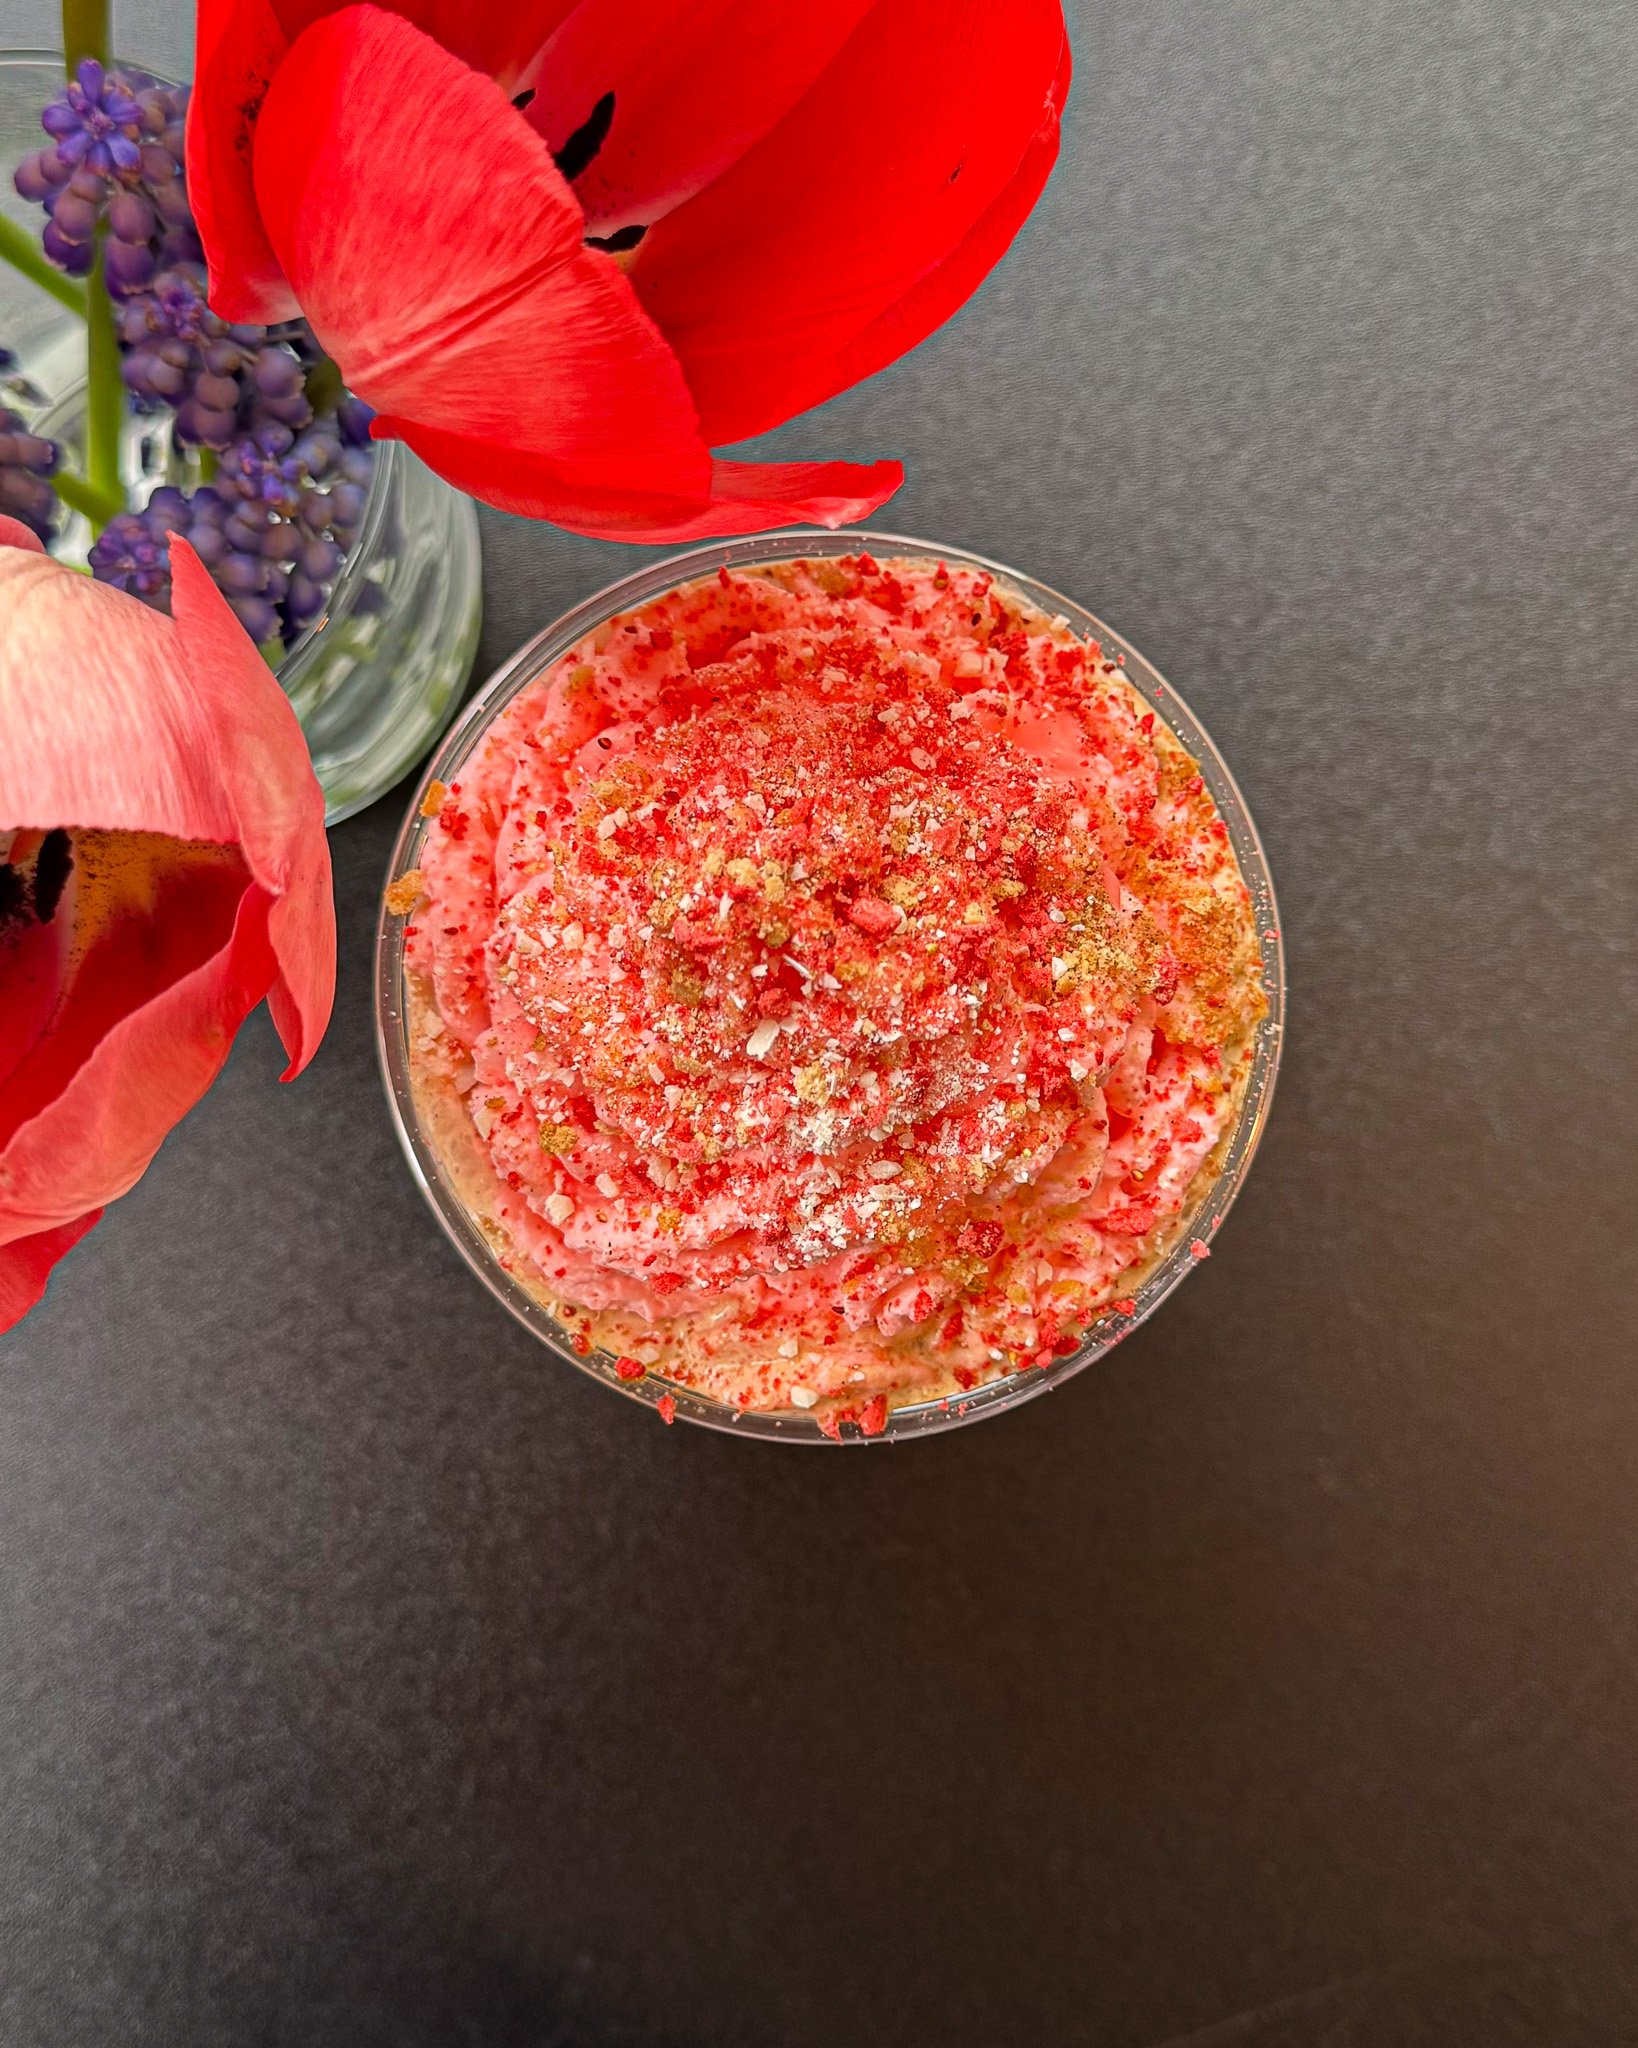
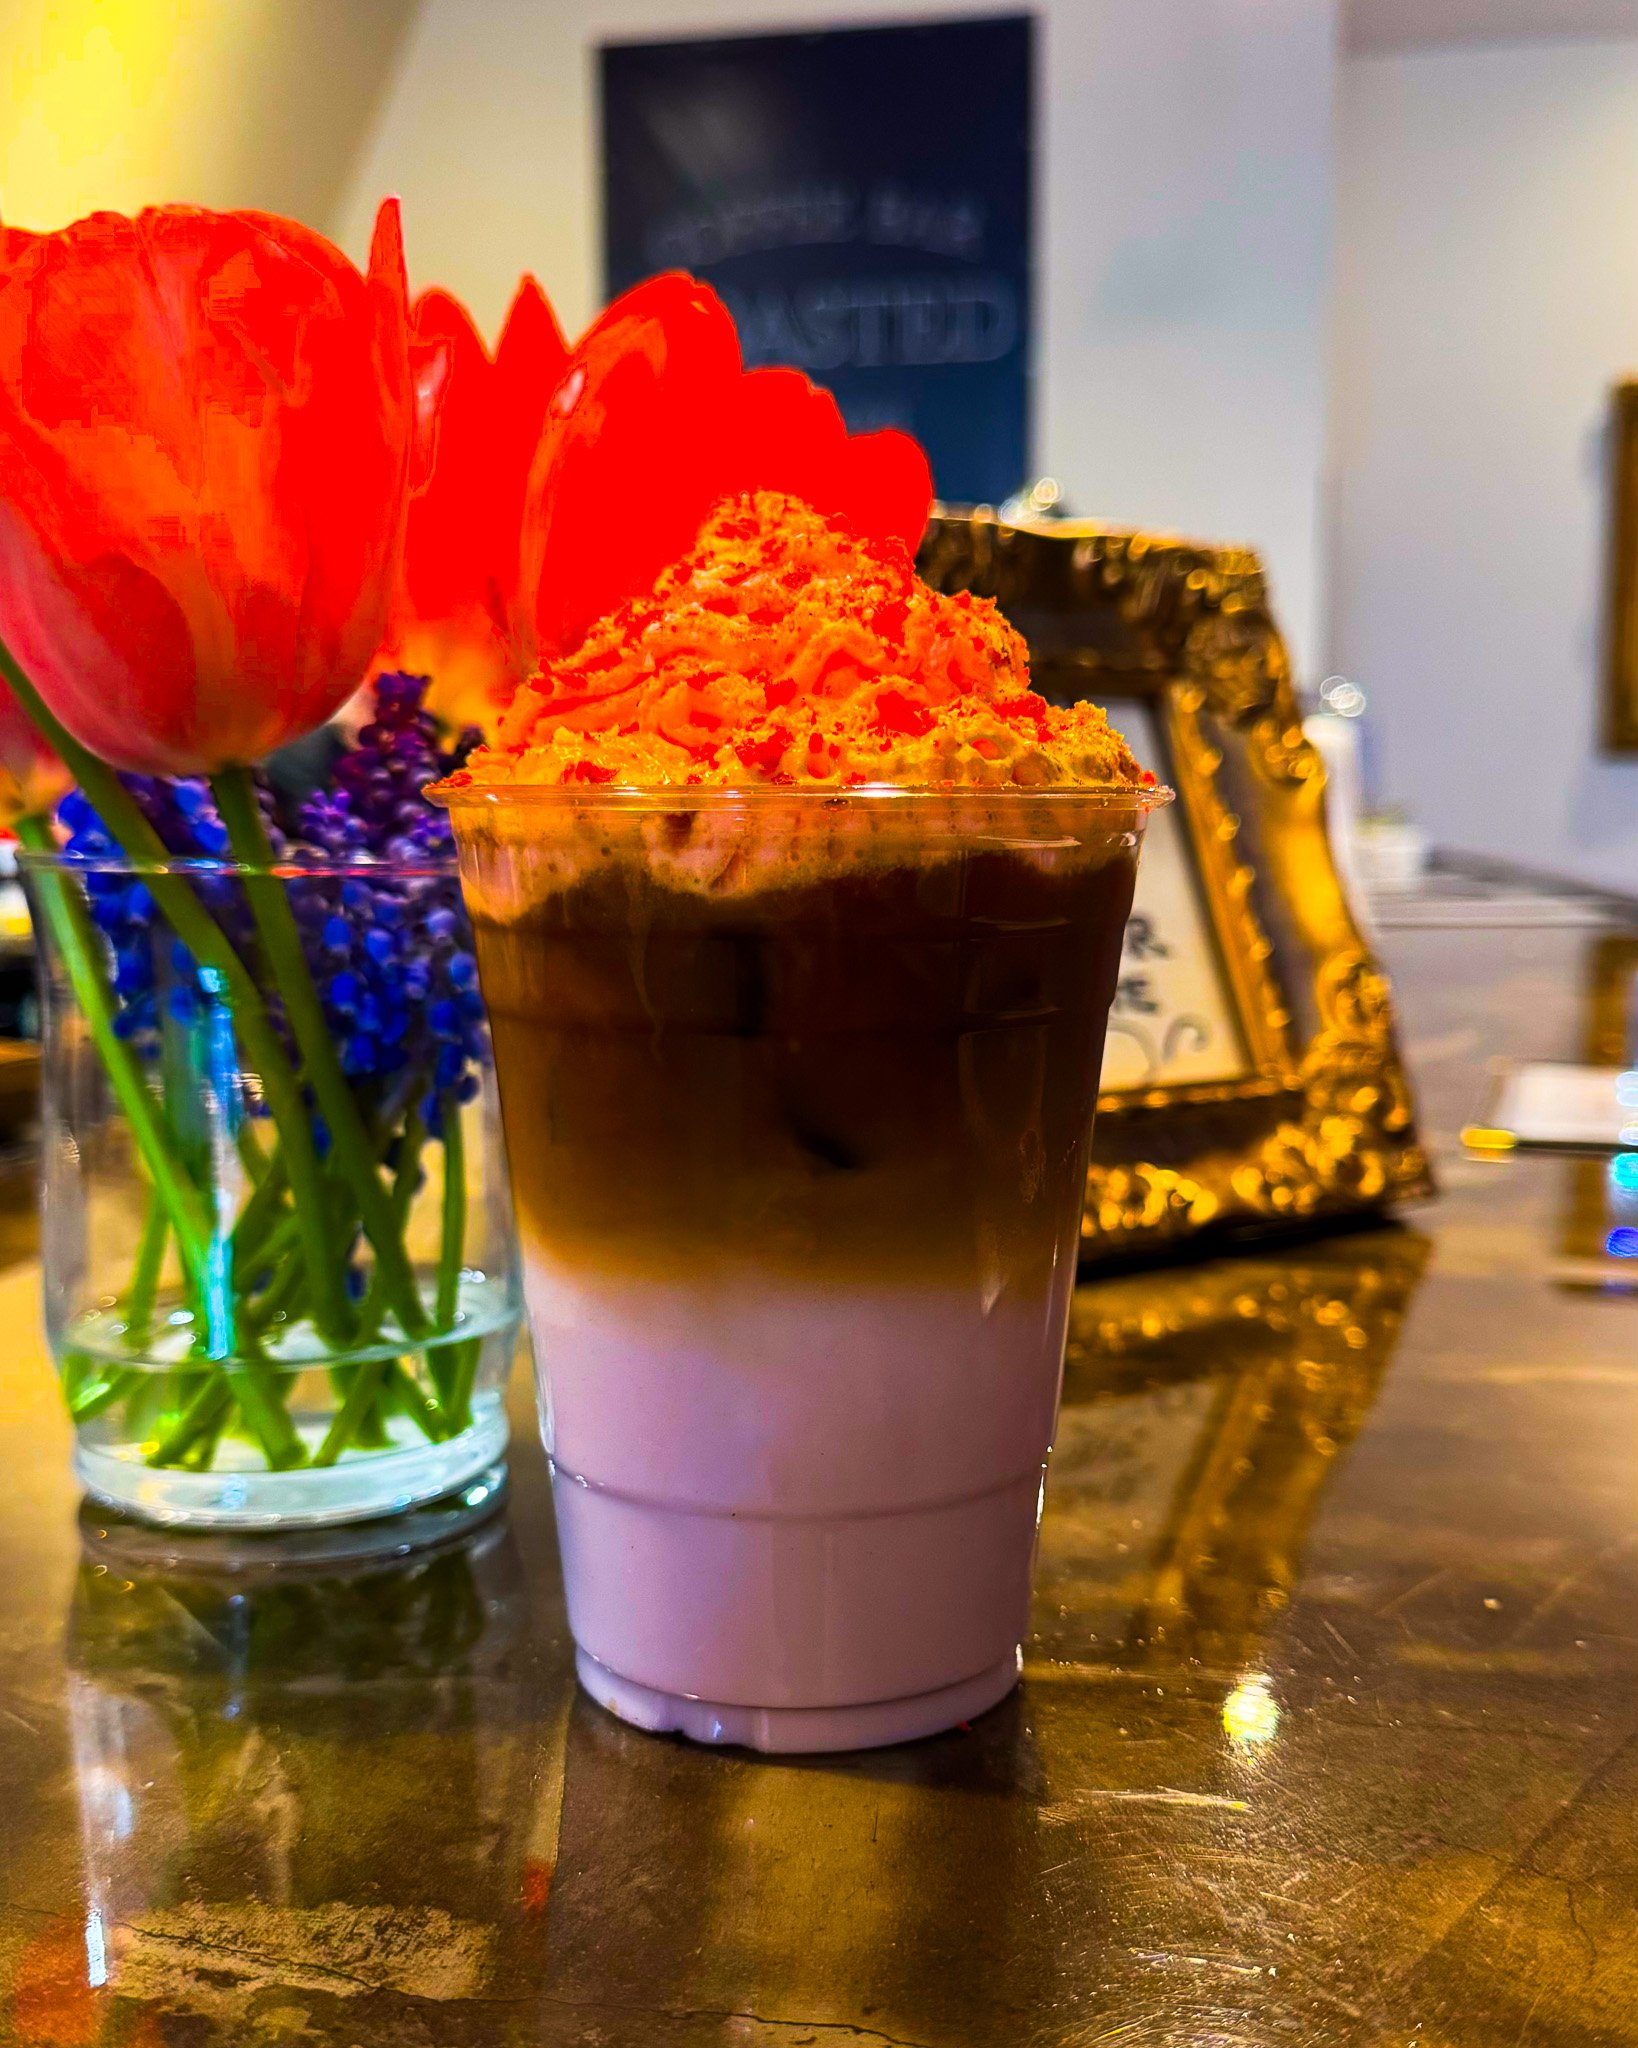
When it comes to editing, subtlety is key. Be cautious with common pitfalls like over-saturation or excessive contrast, which can make your photos look unnatural and unappealing (for example, the photo on the right). Start by making slight adjustments using the sliders until you get the look you want. If you’re unsure, consider using one of the built-in presets as a starting point. Remember, the goal is to enhance your photos, not to overpower them. You want to adjust your photo so it looks good, but not so far that it stands out for the wrong reasons.

STEP FIVE: POST CONSISTENTLY
Social media gives you the opportunity to connect with your audience every day. This achieves a few things for your business. First, you get to show off all the awesome things that you’ve worked hard to create. Second, the algorithm loves it. Your feed is not chronological. It’s curated by the platform to show you content that you interact with. So the more you post, the more people will interact with your page, and the more that platform will push your content onto your followers’ feed. The third benefit, is top of mind brand awareness. Daily content helps continuously expose your brand to new potential customers. Each post increases the likelihood that people will discover your business, learn about what you offer, and remember your brand when they need your products or services.
IN CONCLUSION:
Building your social media presence takes time. Be patient and don’t expect your account to blow up overnight. By posting quality content regularly, preferably every day, your audience will grow in time. It’s a long game but just like anything in business, persistence always pays off.
If all of this sounds overwhelming or if you simply don't have the time to manage it, don't worry, I'm here to help. You can book a consultation with me and my team at Deluge Media, and we'll take care of creating stunning, effective content that lets you focus on what you do best—running your business. Click the link below to get started on transforming your business's online presence.